I find it easiest to attach the wheel to the rudder stem with the board upside down so the rudder can't drop out of the board. If you have it right side up, you will need someone to hold the rudder while you attach the wheel. Put the plastic washers on the rudder stem as spacers, then attach the wheel by screwing the bolt into the threaded hole in the rudder stem.
 |
Turn the board right side up and loop the cable around the wheel twice. Once under the screw and once over it.


Line up the cables so they are the same length on both sides with the rudder centered, then tighten the screw and make sure the cables get held under the washer. Don't tighten the screw down all the way yet, so you can adjust the wheel position later by allowing the cables to slide under the washer. |
 |
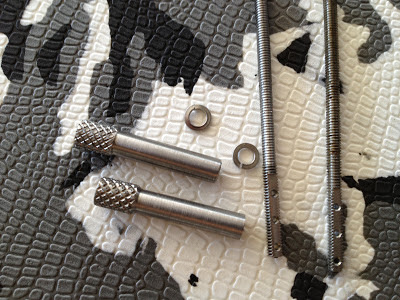
| The next step is to install the steering arm, these are the parts needed. |
 |
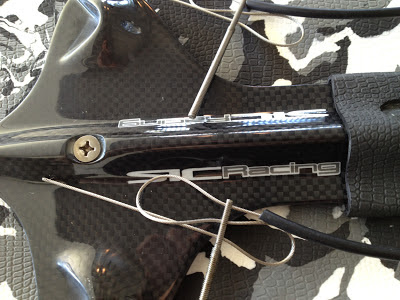
| Use the right size bit to tighten center screw into insert in board with the two big plastic washers underneath the arm. |

 |
Attach the steering batten like this
 |
 |
Put the black plastic tubes over the cable ends and then thread the ends through the tightening bolts like this.
 |
| Once tension is added, the loops tighten themselves down. |
|
 |
Adjust the cable length before tightening down the loops. You want the adjustment screws to go onto the bolts with light tension so that the tension can be adjusted. If there is too much play, you have to shorten the wire loops to a good length.
 |
| After the length is adjusted properly, tighten the knots and insert the excess cable ends into the black tubes. |
 |
Use needle nose pliers to hold and tension the bolts while tightening the screws by hand, try to get about the same amount of rotations on both sides, so you have space left to tighten the cables on both sides later. You will find more tips on fine tuning the rudder in another post linked below.
 |
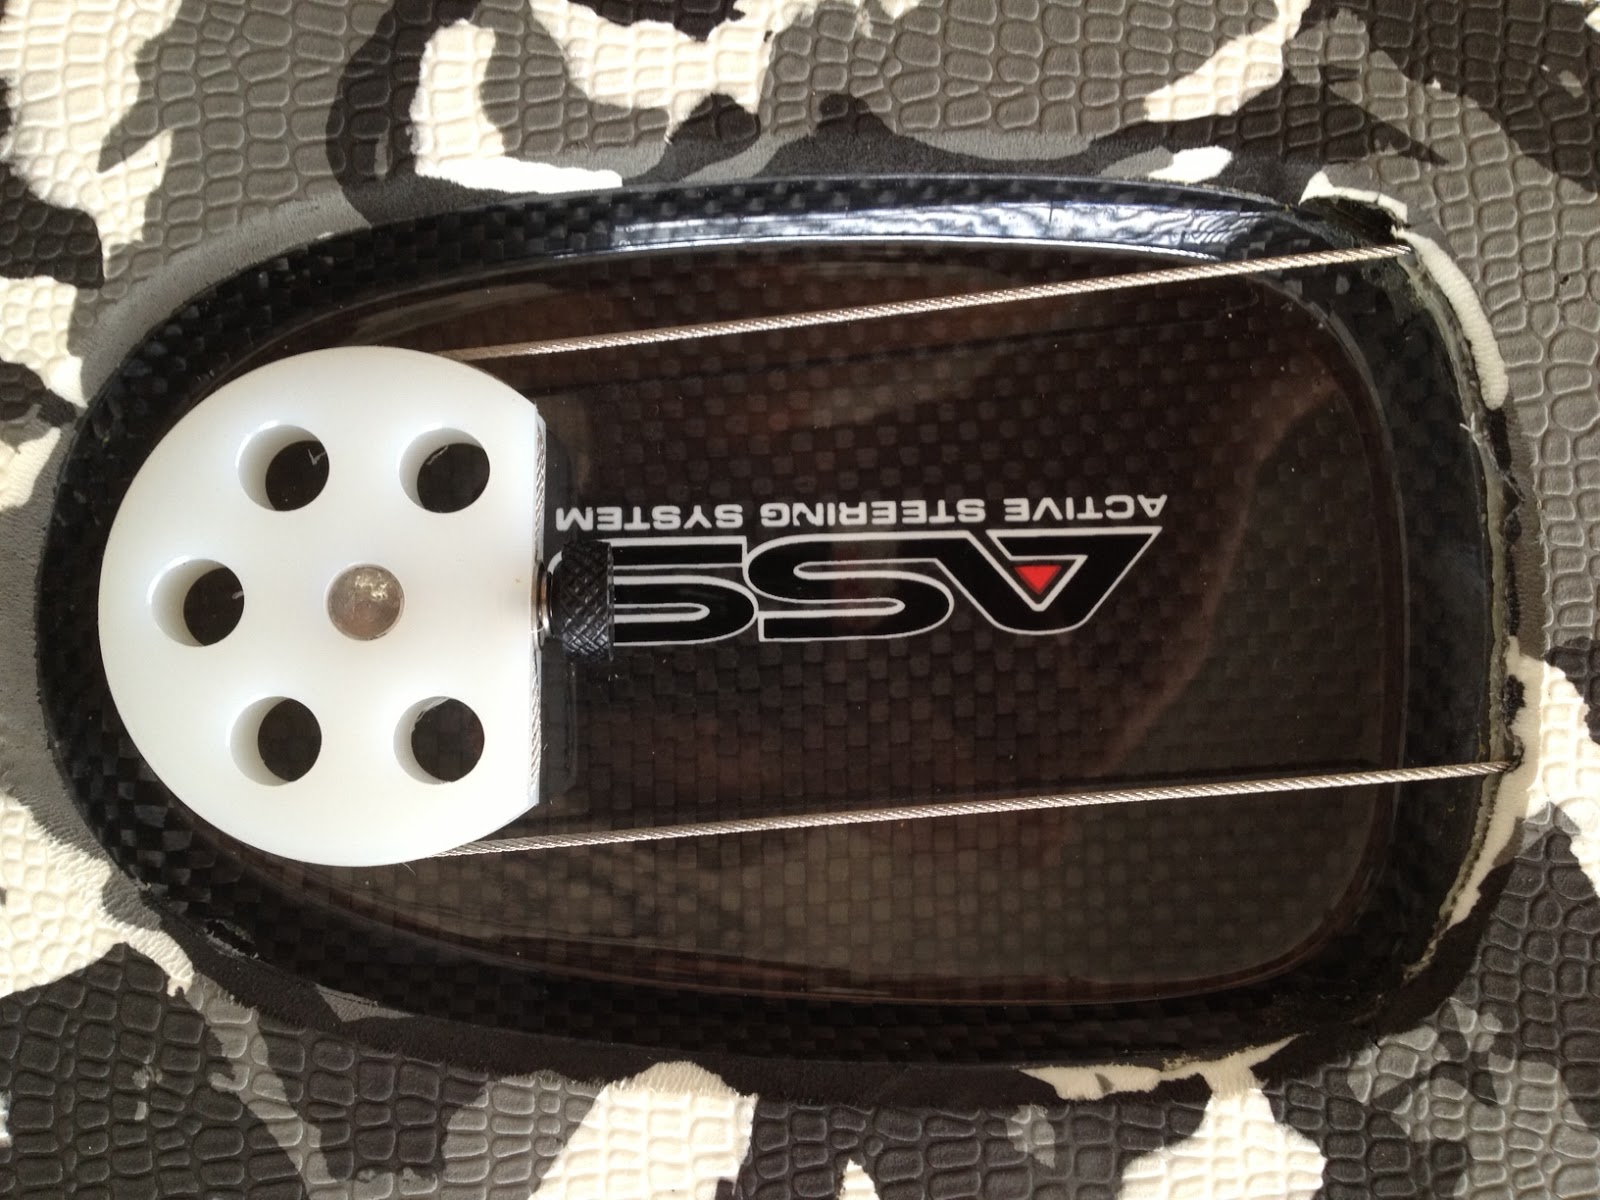
| After the cables are tightened properly, you can adjust the angle of the rudder by twisting the rudder wheel. With the rudder screw not tightened down, the cables can slide around the wheel to the right position. |
 |
| Once the wheel is adjusted properly (fine tuning is done later with the hand screws), tighten it down well, so the cables are held tightly in place and the cables can't slip. |
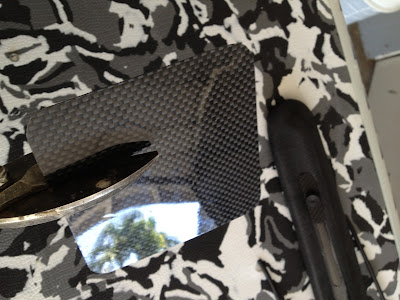 |
| The last step is to stick the carbon sliding plate under the rudder arm. The plate provided is quite big and can be slippery if stepped on, so for my board I cut out a smaller strip that will do the same job as the bigger plate. |
|
|
|


No comments:
Post a Comment
Thanks for posting a comment on Zen Waterman, your comment will show as soon as we have a chance to screen it for spam. Mahalo, we hope to see you on the water!